Note: This article assumes you already have a working VPS. If you don’t, I recommend learning how to provision a VPS from the excellent resources available from Servers For Hackers.
Configure Jenkins
This deployment uses Traefik as a reverse proxy for Jenkins. Traefik uses Let’s Encrypt to provide automatic TLS certificates. Traefik is specifically designed for use with Docker micro-services.
The Jenkins deployment is a single instance of Jenkins and not suitable for production workloads, but it could easily be extended.
Docker Deployment
Clone this repository https://github.com/daniellaubacher/micro to your VPS and follow the instructions in the README.
This will start Traefik listening on ports 80 and 443. You’ll need to access your site using https.
Traefik will generate a certificate the first time you visit the URL, so you may notice a delay on the
first page load. Jenkins will guide you through an initialization process the
first time you login.
Automate Updates With A Cron Job
To setup a Cron job to refresh the docker images run sudo crontab -e. This
will create a Cron job that runs as root. Add this line to the Crontab:
0 2 * * * <PATH_TO_REPO>/refresh-images.sh >> <PATH_TO_REPO>/refresh-images.log 2>&1
Run sudo crontab -l to list the Crontab entries and ensure that the new Cron job was properly added.
Configure Deployment
Create an AWS IAM User or Role
Login to AWS and create an IAM user or role for the purpose of deploying your static sites. Use the principal of least authority and only grant access to the necessary AWS resources. For example, you may only require permission to deploy to a specific S3 bucket. You may find it helpful to use the AWS Policy Generator.
I use a policy something like this:
{
    "Version": "2012-10-17",
    "Statement": [
        {
            "Effect": "Allow",
            "Action": [
                "s3:PutObject",
                "s3:DeleteObject",
                "s3:ListBucket"
            ],
            "Resource": [
                "arn:aws:s3:::<BUCKET_NAME>",
                "arn:aws:s3:::<BUCKET_NAME>/*"
            ]
        },
        {
            "Effect": "Allow",
            "Action": "cloudfront:CreateInvalidation",
            "Resource": "<CLOUDFRONT_ARN>" # Amazon Resource Name (ARN)
        }
    ]
}
Now login to Jenkins and configure your new credentials. You’ll want to ensure that you have installed CloudBees AWS Credentials Plugin.
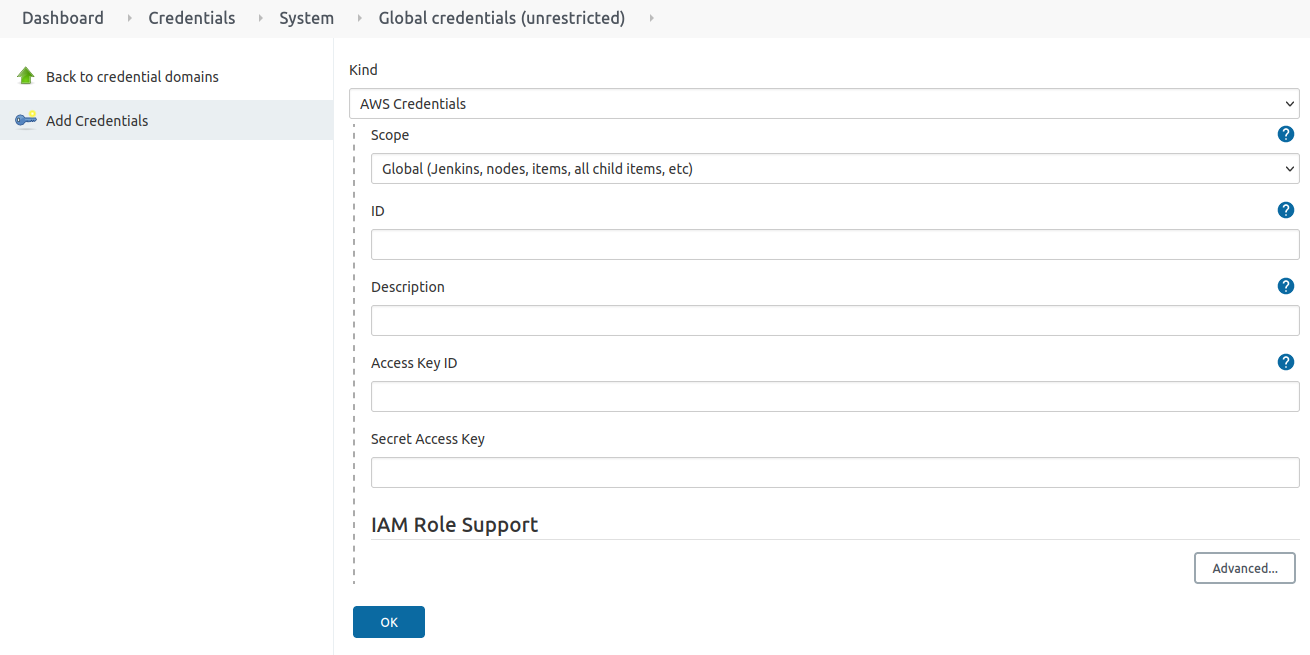
Configuring the Jenkins Job
Create a new item and select pipeline for the job type.
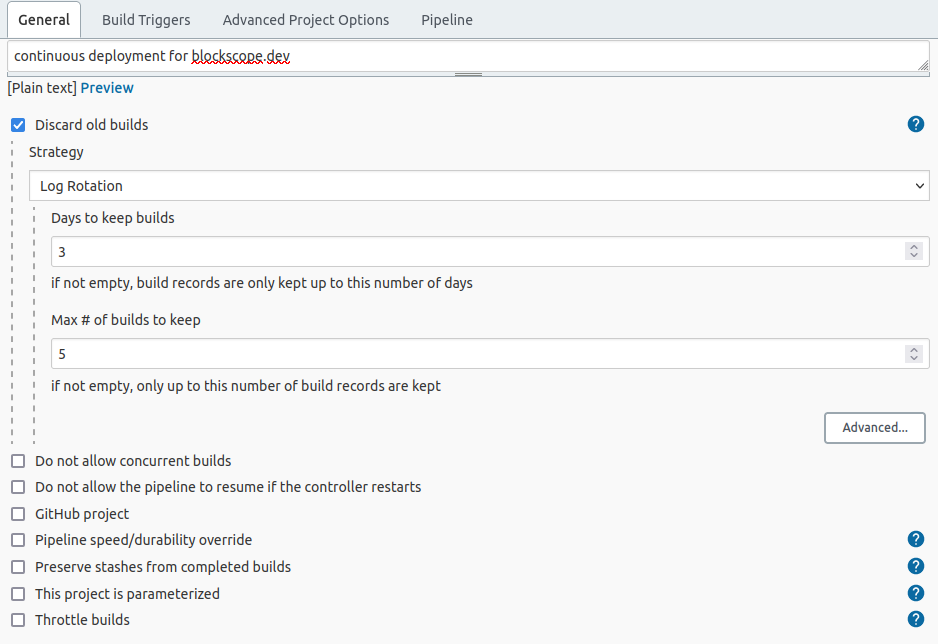
You’ll want to ensure that you don’t keep too many old builds since they will use
up a lot of disk space on your server. Select and configure the “Discard old
builds” option.
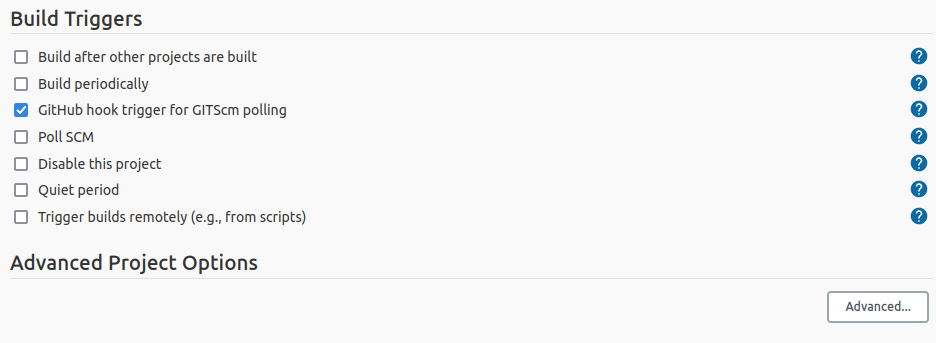
Select “GitHub hook trigger for GITScm polling” for the build trigger. This is a
good option when updates are infrequent since it allows GitHub to notify Jenkins
instead of requiring Jenkins poll GitHub for changes.
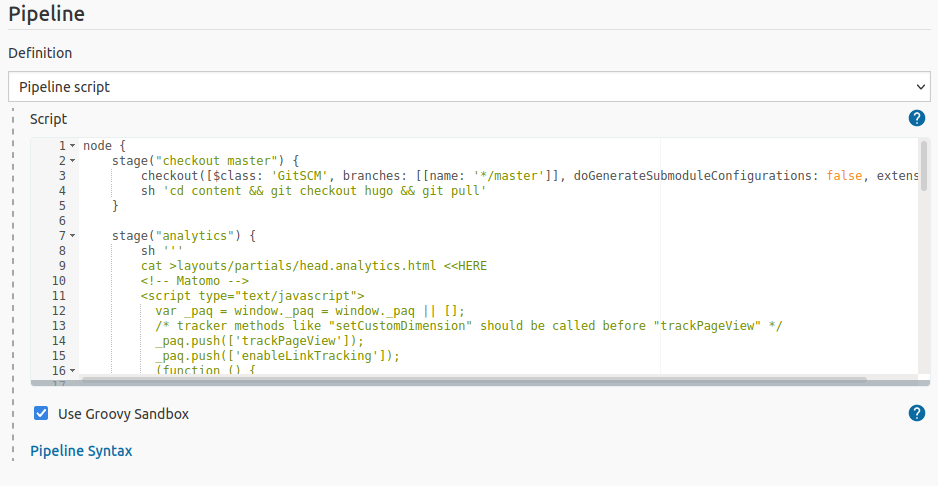
The main configuration takes place in the pipeline script. I’ve included the
configuration I use with Hugo as an example. Some of it may be irrelevant for
your use case. But you’ll still want to read the first and last pipeline stages.
The first stage pulls in the changes from GitHub and the last stage syncs the
files to AWS S3.
node {
    /*
    * The GitSCM plugin handles pulling in the changes.
    */
    stage("checkout master") {
        checkout([
          $class: 'GitSCM',
          branches: [[name: '*/master']],
          doGenerateSubmoduleConfigurations: false,
          extensions: [[
            $class: 'SubmoduleOption',
            disableSubmodules: false,
            parentCredentials: false,
            recursiveSubmodules: true,
            reference: '',
            trackingSubmodules: false
          ]],
          submoduleCfg: [],
          userRemoteConfigs: [[url: 'https://github.com/<USERNAME>/<REPO>.git']]
        ])
    }


    /*
    * If you wish to configure Analytics, you may add them in the build.
    */
    stage("analytics") {
        sh '''
        cat > layouts/partials/head.analytics.html <<HERE
        <!-- Analytics -->
        <script type="text/javascript">
          //ADD TRACKING SCRIPT HERE
        </script>
        <!-- End Analytics Code -->
HERE # there must not be any whitespace to the left of this line for proper heredoc syntax
        '''
    }

    /*
    * This is Hugo specific, but it could be anything.
    */
    stage("generate site") {
        sh 'rm -rf public'
        sh 'hugo'
    }

    /*
    *  Sync files to AWS S3 🎉
    */
    stage("publish") {
        withCredentials([[$class: 'AmazonWebServicesCredentialsBinding', credentialsId: '<AWS_USER_CREDENTIALS>']]) {
            sh '''
            # sync the HTML files
            aws s3 sync public/ s3://<EXAMPLE.COM>/prod/public \
            --delete \
            --exclude "*" \  # exclude followed by include is required to "filter" the filetypes
            --include "*.html"


            # sync the non-HTML files separately and add cache headers
            aws s3 sync public/ s3://<EXAMPLE.COM>/prod/public \
            --delete \
            --exclude "*" \ # exclude followed by include is required to "filter" the filetypes
            --include "*.js" \
            --include "*.css" \
            --include "*.png" \
            --include "*.jpg" \
            --include "*.svg" \
            --cache-control "max-age=604800" # set cache-control for non-HTML files

            # The CloudFront cache must be invalidated for the changes to be fully deployed.
        	  aws cloudfront create-invalidation --distribution-id <CLOUDFRONT_DISTRIBUTION_ID> --paths "/*"
            '''
        }
    }
}`
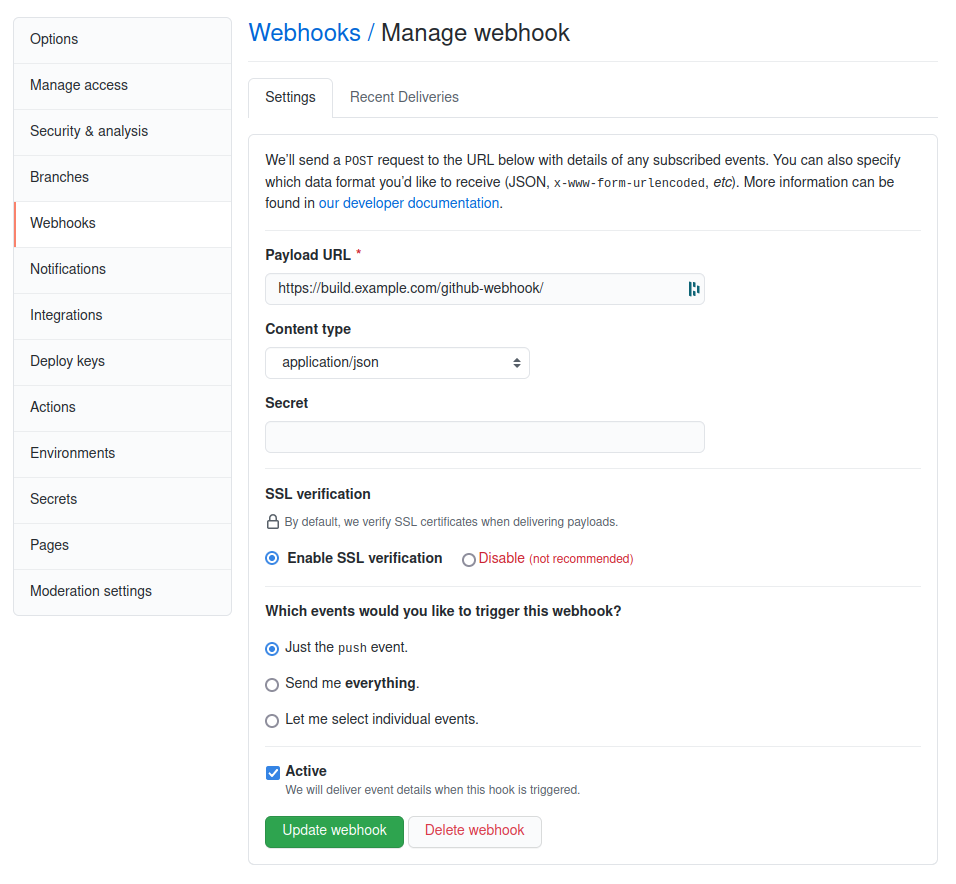
Add a GitHub Webhook
Now that Jenkins is fully configured it’s time to automate the deployment.
GitHub supports notifying a WebHook endpoint whenever there are changes to the
repository. This does require a public Jenkins endpoint. But GitHub doesn’t require Jenkins login credentials.
Misc
These should be the only required plugins. But I’m not been brave enough to reset my Jenkins instance and find out. 😅
- https://plugins.jenkins.io/aws-credentials
- https://plugins.jenkins.io/aws-java-sdk
- https://plugins.jenkins.io/workflow-aggregator
Summary
There is a lot of configuration required to setup a CD pipeline. I hope this article has helped to simplify that process. Cheerio.